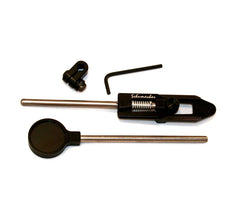
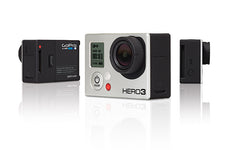
Installing a G3/G2 DUAL CAMERA MOUNTING PLATFORM
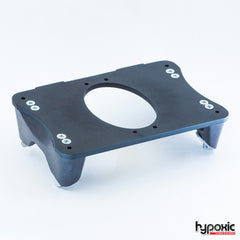
This is how we mount a G3 Dual Camera Mounting Platform. Each helmet is different and this "how to" should only be used as a guideline. Care must be taken when mounting cameras on a non cutaway-able helmet. Please use extreme caution and read all instructions before continuing. Drilling in your helmet and adding cameras can cause serious injury or death. Please don't be a statistic. Use utmost care in designing your helmet and please ask for assistance if unsure.
Feedback is always welcome!
This guide assumes you know general machining practices, can use a set of calipers, and can precisely drill holes. If you are unsure, ask for local help or email us for clarification.

Mark the center point on the vent

Mark 83mm from the center point in an arc

Intersect 55mm from this lip

The mark should look like the above

Mark the other side of the helmet with the same 83/55mm intersection

Note how all the linear pieces fit. Remove the forehead and top pad. Pull back all the ear liner.

Remove all four nut assemblies from the plate and their associated bolts.
Do a sanity check on the bottom two marks. Check that these marks are just inside the holes mounting holes on the plate. We want these marks to be slightly inside the natural chamfer of the feet. The idea is to pull the feet and plate into the helmet.
At this point we measure again.

We use a step bit, but 5/32" drill bit will work fine. On the marks drill two holes straight into the helmet. Use a punch if necessary to prevent the bit from straying.
These holes have now become our drill guides.

We place one bolt into one back side of the plate and position it on the helmet. This bolt should lay on the previously drilled guide-hole's ledge. At his point we press down on the plate.

We then make sure the opposite side is still aligned with the help of the bolt and the plate is touching the helmet. We place the drill bit on the freshly created lip and drill straight down. A 5/32" or similar metric bit is recommended for this step.

We loosely add the nut assembly to the first mounting bolt.

We press the foot in slightly and drill the other side's hole. All while making sure the bit is resting on the lip we created in the first drilling step.

Using the provided M4-40 bolt and nut assembly, we loosely tighten down that side.

We drill the remainder two holes making sure to press the feet inwards on each side. We loosely add the nut to each side before continuing.
Once all 4 holes are fitted, tighten each screw down. At this point, one-at-a-time we back out each screw and add loc-tite to each nut.

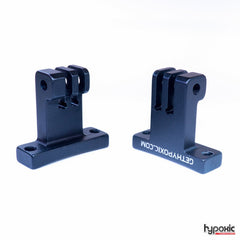
Using loc-tite add your mounts. Double check everything is secure.
Be safe and Blue Skies!
