Removable Articulating Ringsight Fundamentals
Physical Removable Articulating Install Instructions
Ring Sight Fundamentals
- Ensure you are ready to fly a ring sight. They do add complexity to camera flying mix and can cause serious injury.
- Choose your sight. Cross sight or Concentric. Concentric is more expensive but does provide a superior video or still product.
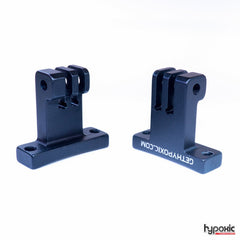
- Choose your mount. Articulated is recommended since it gets out of your way during landing and fitting of the helmet. In addition, it tends to present less snag points. A common mounting post works well for a select set of helmets. Remember though, a mounting post may not break off incase of line snag!
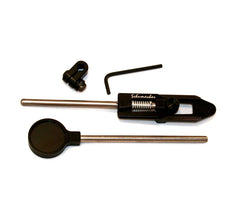
- Get yourself a swivel clamp. This is the necessary accessory to connect the eyesight to the mounting post and provide fine tuning adjustment.
Ring Sight Mounting Tricks
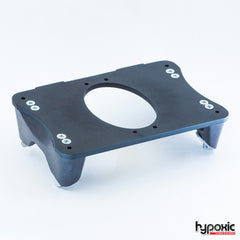
- Read the instructions for the Removable Articulating Ring Sight Bracket.This will guide you through the mechanical mounting process. Note: The second page contains a CAD drawing of the drill hole locations. Use a ruler or calibers to locate the hole's offset. Or use this 1:1 PDF and print out the image with "no scaling" from your PDF reader. Removable Articulating bottom 1:1 scale.
- Watch This
- Cut and file all aluminum posts as short and smooth as possible to prevent line snag. We have inexpensive replacement posts. One jump with excess post exposed may be too many!
- Drill into the helmet per the helmet manufacturer's suggestions. Use tape and an awl to mark the drill holes. Drill slowly preventing splintering. Move up in drill bit size.
- Remove the eyesight from the post for cutting. Once done, use some blue Locktite to secure the post to the sight.
- On some removable articulating ringsight adapters, the manufacturer included two black and two white NYLON screws. We suggest using the longer screws on the front two holes and the shorter (white one) on the rear. This should leave you with one white nylon screw as a spare.
Do Not overtighten them! - Have a friend help you sight the ring sight. If flying a still and a video camera they do not necessary need to converge on a single location, infact having them sighted parallel generally leads to a better product.
Elliot Byrd does a great job installing a Ringsight on a Cookie Fuel below:
[Start time 6:53]