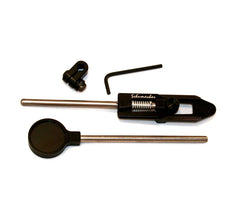
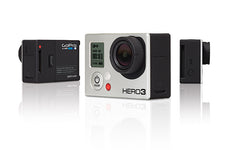
How to Install a Turned On into a Plastic Helmet
Posted by Mark Kirschenbaum on
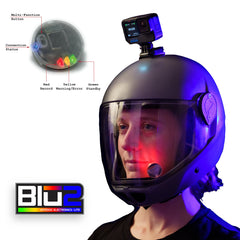
Below is the recommended method for plastic helmet such as the Cookie G3, Phantom X, or K.I.S.S. We like this method since it allows for quick removal if you are jumping into the wind tunnel. To remove the GoPro / Turned On Combo, it's as easy as pulling out the top pad, and sliding the cable through the hole. It literally takes less than 30 seconds.
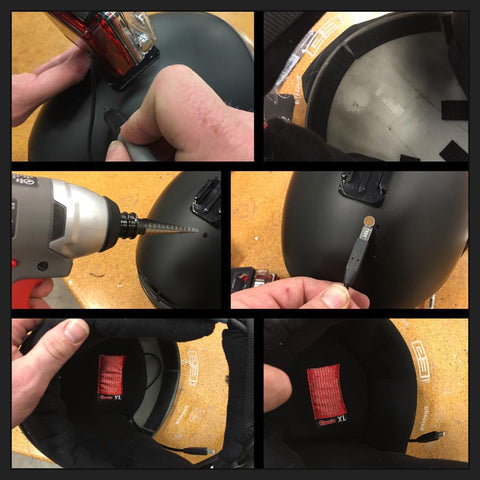
To Install
- Mark directly below the cable's exit on the helmet. Using a nail or a punch, create a divot for the drill bit to sit upon.
- Note the locations of the padding. Remove the head pad and the forehead pad.
- Drill slowly. Shown is a reamer bit. A 3/8 bit is a tad tight, but works well too.
- Bevel the edges with a file or a sharp knife. This prevents premature wear on the cable.
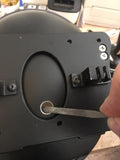
- Install the Turned On and remove the excess slack from the windward side of the helmet. We do not want the cable "flapping in the wind"
- Place the led in front of your dominate eye. Be sure not to allow the display to scrap against the visor as it will wear off the anti-fog layer if it touches.
- Clean out any plastic chips from the padding.
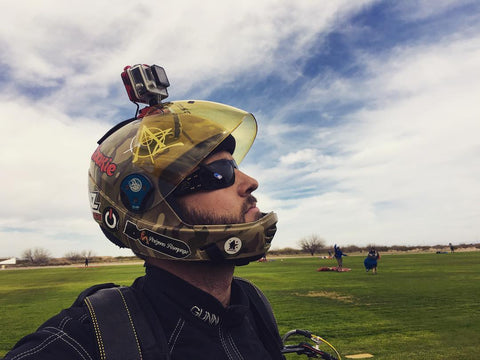
Alternative Methods
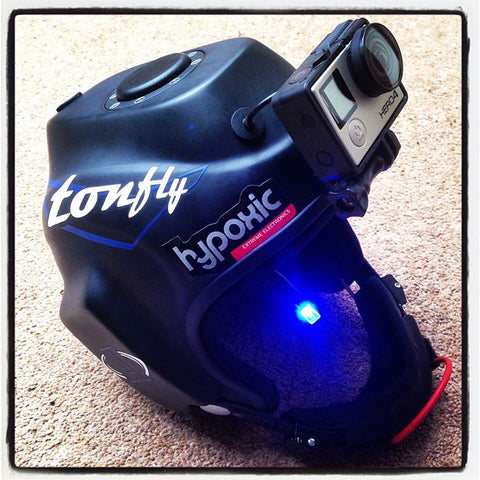
Using the GoPro frame, James Cook installs the turned On cleanly re-purposing the grommet into his TonFly helmet.
Through the Vent Install
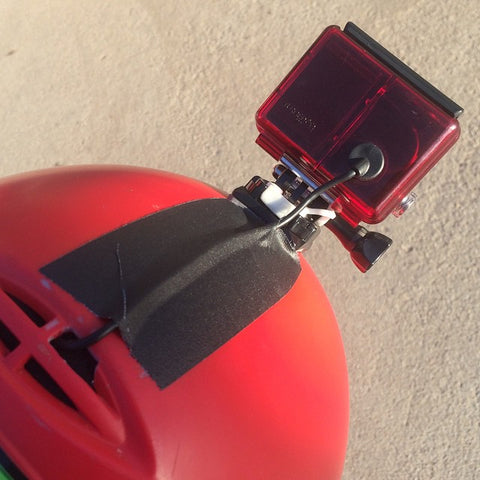
Note that the gaffer's tape is needed to seat the cable. We will not warranty the cable if it is allowed to "flap in the wind!"
Over the Lip Install

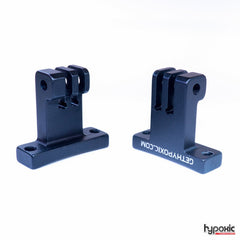
Buzz and Joy decided to loop the display cable over the brim of the helmet. The helmet on the left utilizes one of our Permanent GoPro Mounts. The TonFly Shark, utilizes our Extended GoPro Mount and our Aluminium Extension Nub.
Please feel free to send us your neat installation!
See the Turned On Support Page for more guidance.


