Skydiving Camera Helmet Build
Posted by Mark Kirschenbaum on
This boogie season I decided to upgrade my camera setup. Here are the steps I took to build the helmet. Before it's assumed, we were NOT given any of these products and purchased them with our own money. Luckily for me, we do make the accessories.

Hardware
- Sony AX53 ($998) 4K video, incredible B.O.S.S. stabilization, great quality, complete image control, spectacular zoom, and good audio. Complete solution for ground video. Downside: 1.5lbs. (Can't wait for the new Stabilized GoPros)
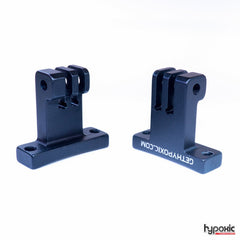
- Schumacher Quick Shoe Mount - Anti-twist Boss added
- Custom Velcro stabilizing strap
- HYPEYE 2.0 Prototype
- Removed strap from camera
- Sony alpha a6000 ($548) / Sigma 19mm f/2.8 lens ($199) Perfect lightweight camera for skydiving (1lb 2oz). After talking to the Sony reps they convinced me to just get the a6000 over the alpha a6300 since I already have the AX53 for 4k video. Many people like the older alpha a5100 for its side loading card. I'm told people like the Sony 20mm Prime with Sony Fisheye Converter for matching with their GoPro's FOV. I'm told the cream of the crop is the Sony 10-18mm f/4 with optical stabilization.
- Schumacher Quick Shoe Mount
- Custom Velcro Strap and 3d printed lens holder
- Hypoxic Multi Terminal 90 degree adapter
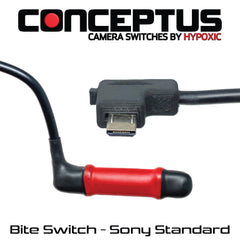
- Conceptus Tongue Switch
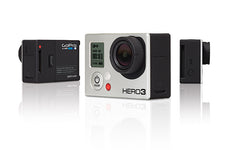
- GoPro HERO4 Silver modified with 3.97mm f/2.8 82 degree lens
- Turned On by Hypoxic
- Removed the Turned On's back
- Mounted in CNC Aluminium Skeleton Frame
- Permanent Mount to helmet
- Added Turned On Frame Clasp
- Tonfly CC2 helmet 55mm (Yes I have a tiny head!) Initially I was going to modify my G3, but that was going to be such a bit PIA, I decided to bite the bullet and get a lightweight, low-profile helmet.
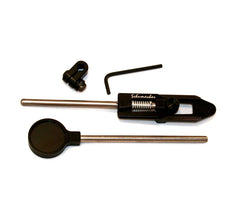
- Brent Finley Concentric Ringsight, Schumacher Removable Articulating Ringsight Bracket and Swivel Clamp.
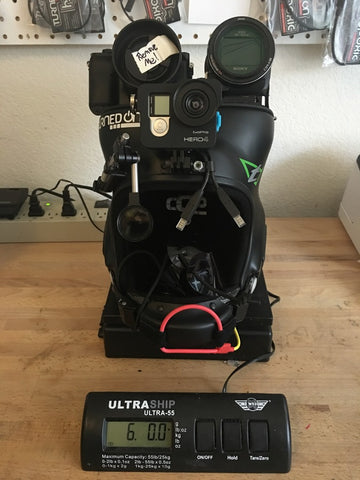
Total Weight 6lbs. Total cost, I'm in denial! Photo/Video Quality - Awesome.
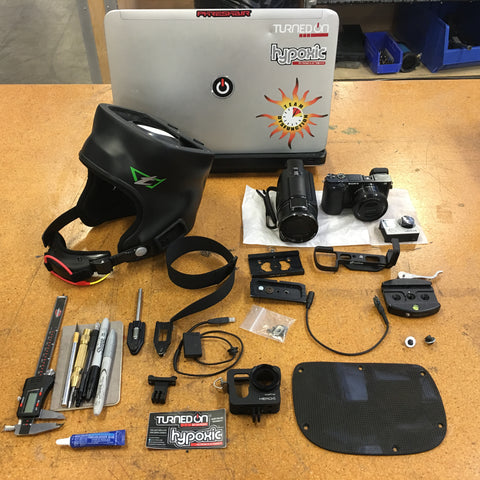
Step 1: Don't start before you have everything in hand.

For prep we first milled a "boss" to the quick shoe to prevent the AX53 from twisting off and keeping it aligned. An M4 screw worked well. We don't want to lose a $1000 - 1.5lb camera in freefall.
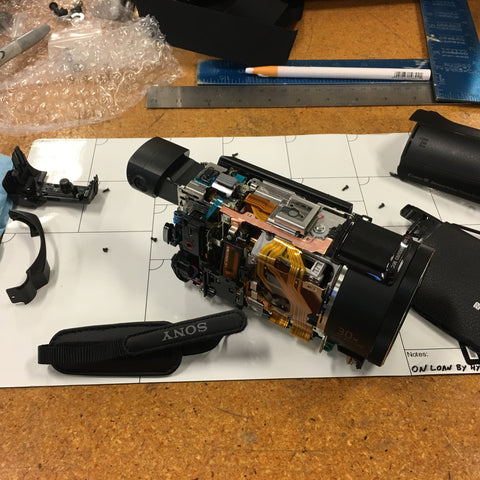
I removed the strap from the Sony FDR-AX53 to make it easier to install and remove the camera. I don't suggest doing this unless you know what you're doing. Gaffers tape generally works and doesn't void the warranty. If you're a die-hard old-schooler, cut it off.

Here is my first dry fit of the camera setups. Notice how I have the controller cable already installed. Super important to have all parts before you start!
I chose the final position to protect the cameras as much as possible from my risers and ensure the cameras are not in the field of view of one another. I also paid attention to any snags from the mounts, card access, and how the weight was centered on the plate.

I spent way too much time trying to figure out what was square with this helmet. Truth is there is no "square" and your head really isn't either. My advice, set a baseline that looks good and stick with it.

I mounted the camcorder first. This allows you to position the still camera deep into its contours. Note that carbon fiber is not only harmful for your lungs and It's conductive! Be smart, use a mask and keep away from electronics while drilling.

After I had this all together, I didn't like that my 1lb 2oz camera had a 9oz mount. The Really Right Stuff Mount had to go.

I decided to use a Schumacher Quick Shoe instead and 3d print a lens holder. Complete with a velcro strap, this was drastically lighter and more rigid than the RRS mount. Yes, I have a few extra holes in the plate, but they're not hurting anything.

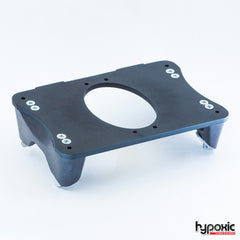
After the change, here is the completed top plate with all the Schumacher Mounts. Notice the extra holes for the control cables to feed through.

Bottom side. Notice the weld nuts are not used on the portion directly above my brain! In case of a hard hit, I rather not have a brain piercing.
Also, I used some JB weld on the weld nuts for the 3d printed lens holder. This is so I could quickly change it for a different lens. Every screw was fixed with loc-tite in the end. We recently were suggested even putting blue loc-tite on your plate 1/4"-20 bolt since it helps keep it snug, but is still removable. I'm going to do this in the future.
It is HIGHLY recommended to always add a velcro strap. Poor Ryan Patrick recently lost his new a6300 when it twisted off on a night jump due to a riser tap.

For back up, we bolted the GoPro to the forehead of the helmet with one of our Permanent Mounts, then used one of our CNC Skeleton Housing, a Turned On and a Turned on Clasp.
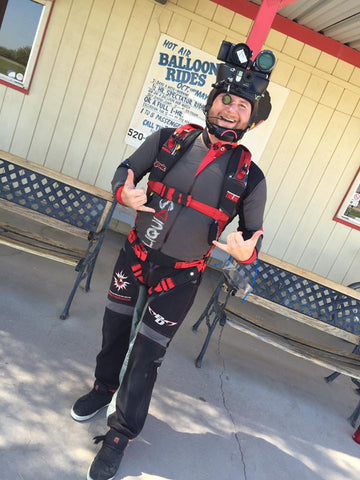
Yes, I'm a dork!
Check out our a6000 for Skydiving Blog Post